

How to Make Sourdough Starter (Beginner Guide)

by sourdoughjesha on February 12, 2026
This beginner-friendly guide will teach you how to make a sourdough starter from scratch using just flour and water. In about a week, you’ll have a bubbly, active starter ready for baking homemade sourdough bread.
If you want to bake incredible sourdough bread at home, it all starts with one essential ingredient: a sourdough starter. This naturally fermented mixture is what gives sourdough its signature rise, deep flavor, airy crumb, and beautifully golden crust—along with the many gut-friendly benefits sourdough is known for.
In this beginner-friendly guide, I’ll walk you through my simple 7-day process for making a sourdough starter completely from scratch. Using just flour, water, a few basic tools, and a little patience, you’ll learn exactly how to create a bubbly, active starter that’s ready to bake with. This is the same method I used to create my own sourdough starter—her name is Stella—over eight years ago, and it’s since helped hundreds of thousands of home bakers successfully start their sourdough journey. Along the way, I’ll share my best tips, common mistakes to avoid, and everything you need to know to keep your starter thriving for years to come.
Once you have your own active sourdough starter, you can use it to make my Beginner Sourdough Bread, the best Sourdough Bagels, Sourdough Croissants, and so much more!
What is a Sourdough Starter?
Sourdough starter is a fermented mixture of flour and water that contains a symbiotic community of wild yeasts and lactic acid bacteria. It’s the key ingredient needed to “leaven” bread – aka it makes bread rise. A small portion of sourdough starter is added to recipes to ferment the dough, and the rest is reserved for future use. Sourdough starters can live on for years if well cared for and even be passed down from generation to generation. There are many examples of bakeries and homebakers using starters that date back over one hundred years!
How Long Does it Take to Make a Sourdough Starter?
On average, it takes about 7 days to create a sourdough starter completely from scratch. Sometimes it can take a little longer, closer to 10–14 days, depending on the temperature of your kitchen and the type of flour you’re using. It might sound like a long process, but the wait is absolutely worth it. Once your starter is bubbly and active, it can last indefinitely with just a little care and feeding. My own starter took about 6 or 7 days to make, and she turned 8 years old this past year!
Health Benefits of Sourdough Bread
Sourdough bread is unlike other breads because it relies on a long, slow natural fermentation driven by wild yeasts and lactic acid bacteria (LAB). This ancient baking tradition—used for thousands of years—transforms flour in a unique way, improving both digestibility and nutrition. During fermentation, beneficial bacteria, yeasts, and enzymes present in sourdough starter begin to pre-digest the grains, helping break down gluten, reduce antinutrients, and lower certain starches and FODMAPs. This process also increases the bioavailability of B vitamins and essential minerals while supporting prebiotic fiber and antioxidant activity, making sourdough a naturally more nourishing bread option.
- Supports gut health: Fermentation creates prebiotic compounds that feed good gut bacteria.
- Improves nutrient absorption: Minerals and B vitamins become more bioavailable.
- Easy to digest: Fermentation breaks down gluten, starches, and certain fermentable carbs.
- Reduces antinutrients: Lowers compounds like phytic acid that can block nutrient absorption.
- Provides prebiotic fiber + resistant starch: Helps support a healthy microbiome.
- Boosts antioxidants and polyphenols: Enhances protective plant compounds in grains.
- Lower glycemic impact: The fermentation process helps moderate blood sugar response.
Sourdough Starter Ingredients and Supplies
Making a sourdough starter doesn’t require anything fancy—just a few simple ingredients and basic kitchen tools to get started. Here’s everything I recommend:
- Bread flour: I like using King Arthur’s Bread Flour, but any unbleached bread flour will work well.
- Whole wheat flour: You can also use any other whole grain flour like rye, spelt, or einkorn. I recommend using whole-grain flour when making a sourdough starter because it helps to speed up the fermentation process.
- Water: I’ve always used tap water! It’s not necessary to use filtered water, but feel free to use whatever you prefer!
- Kitchen scale: A kitchen scale is not required, but it’s a super helpful tool that will be great to have for all forms of sourdough baking, from bread to cookies, bagels, and beyond. I recommend this one from Amazon.
- Rubber spatula or wooden spoon: Use a rubber/silicone spatula or a wooden spoon when mixing or discarding your starter. Avoid using metal utensils because metal can react with the bacteria in the starter. I like this spatula set from Amazon.
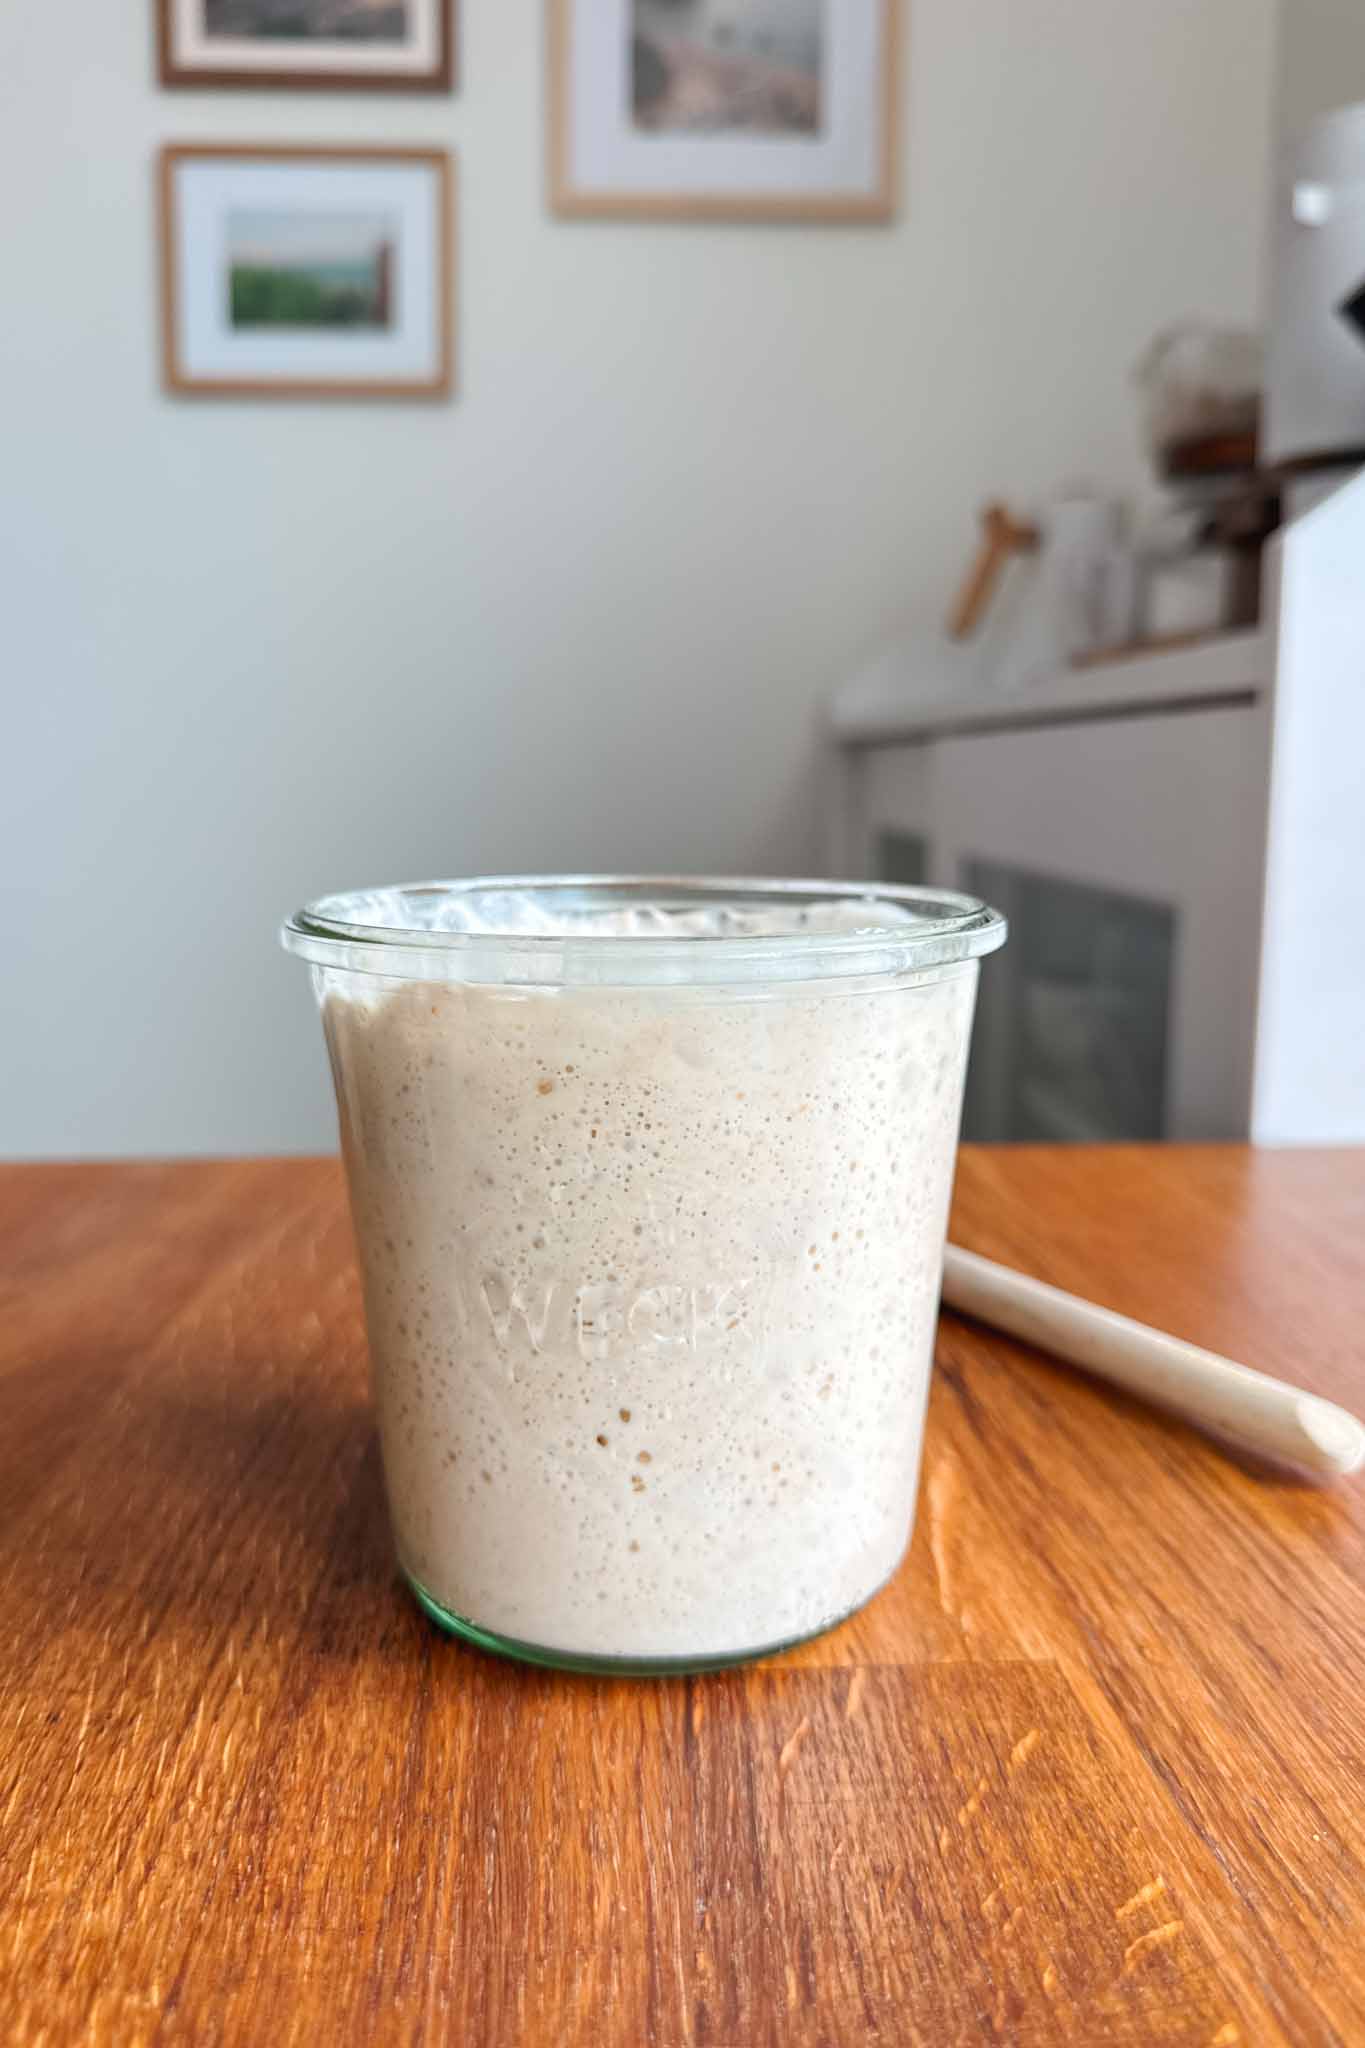
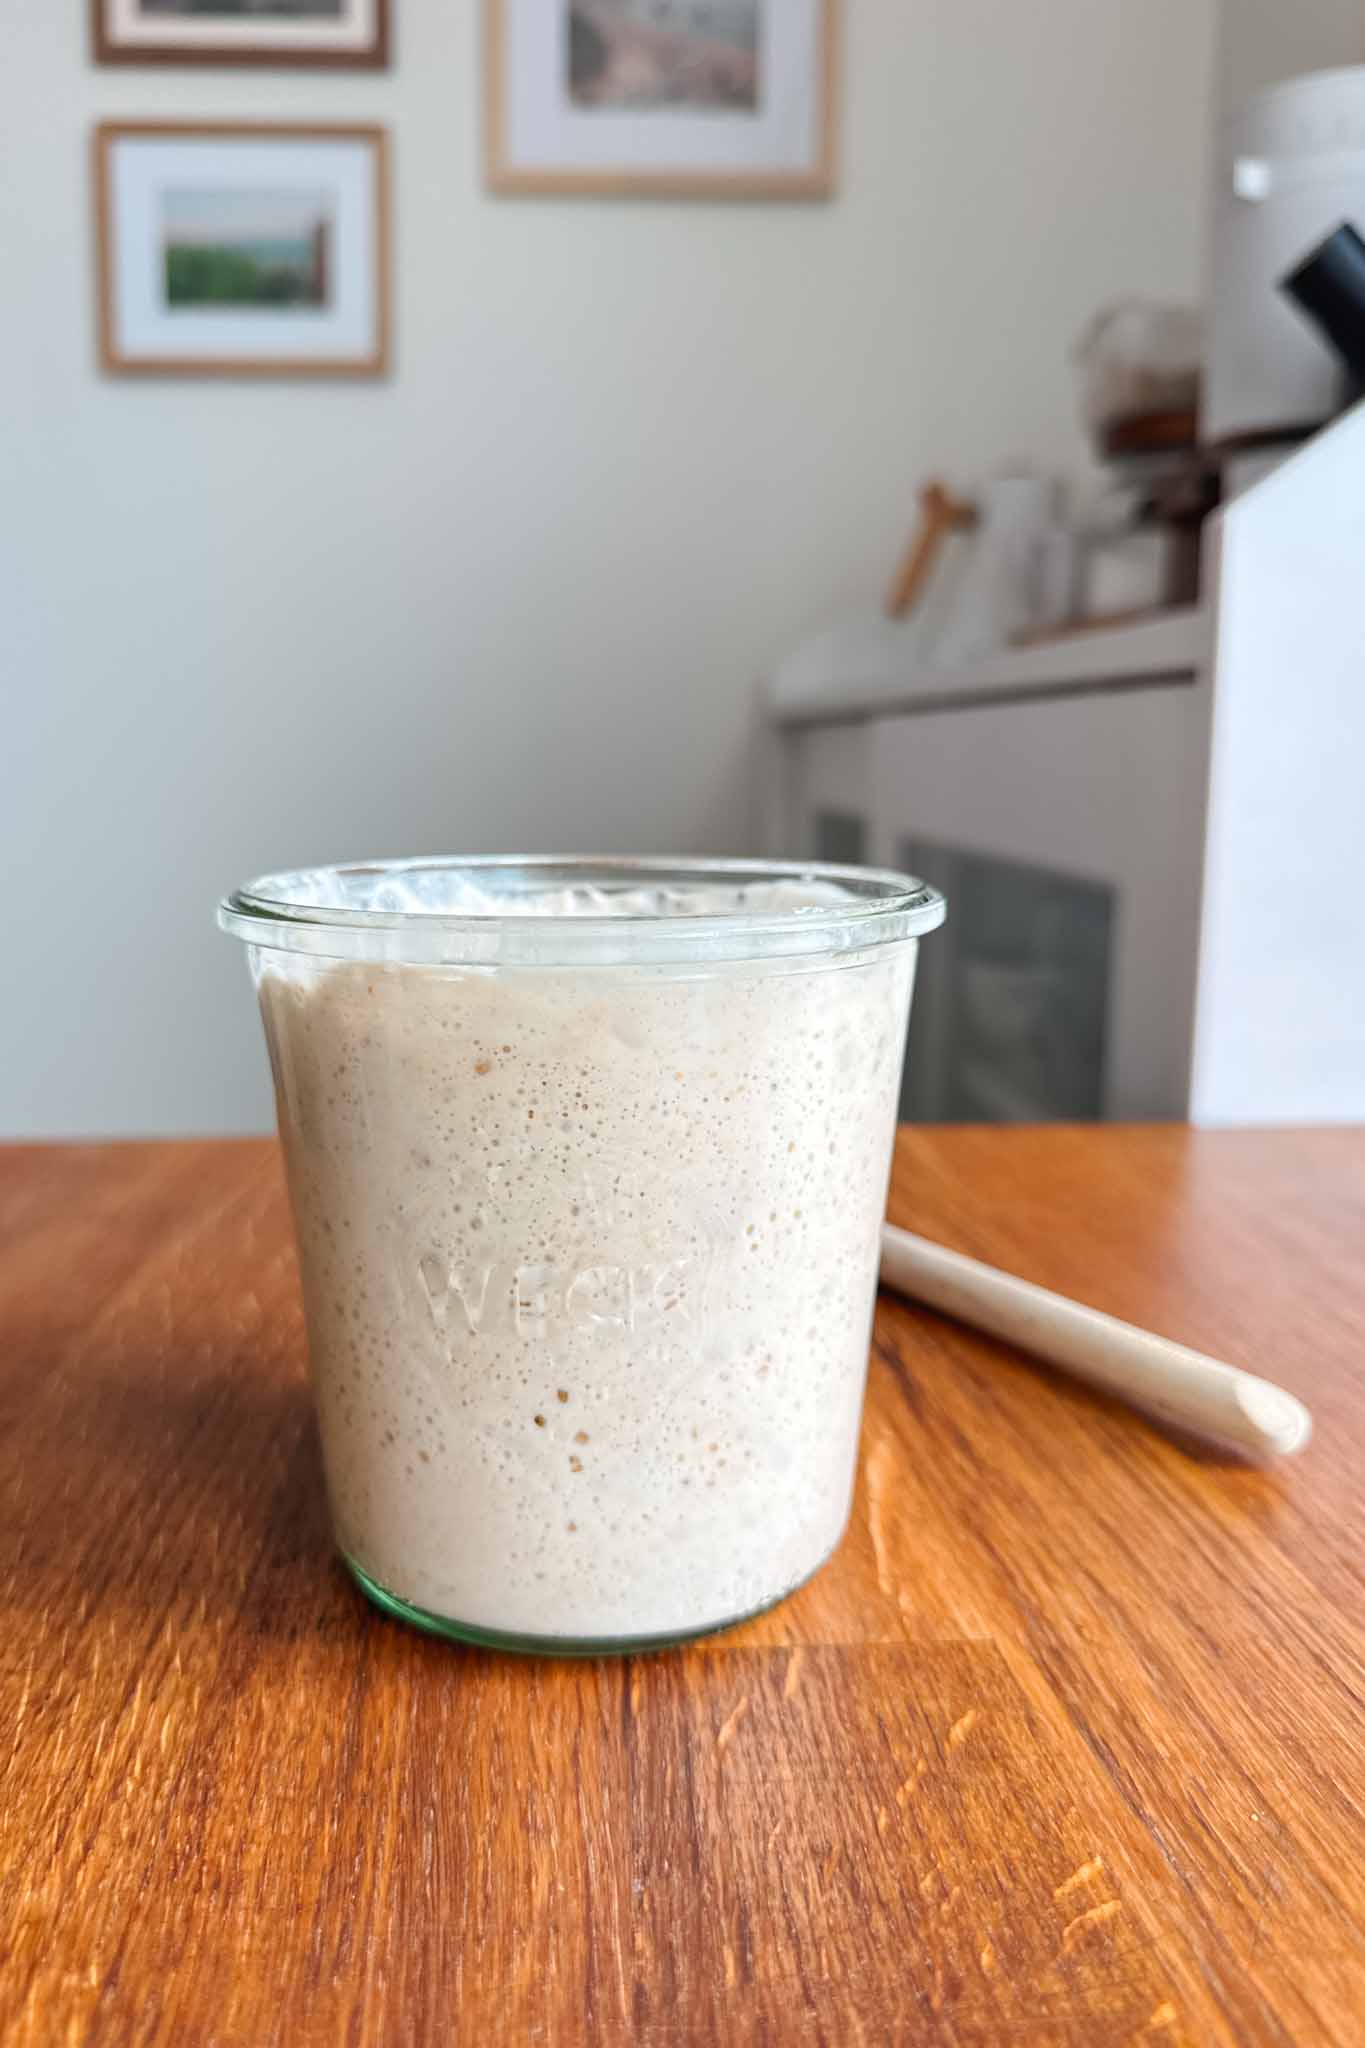
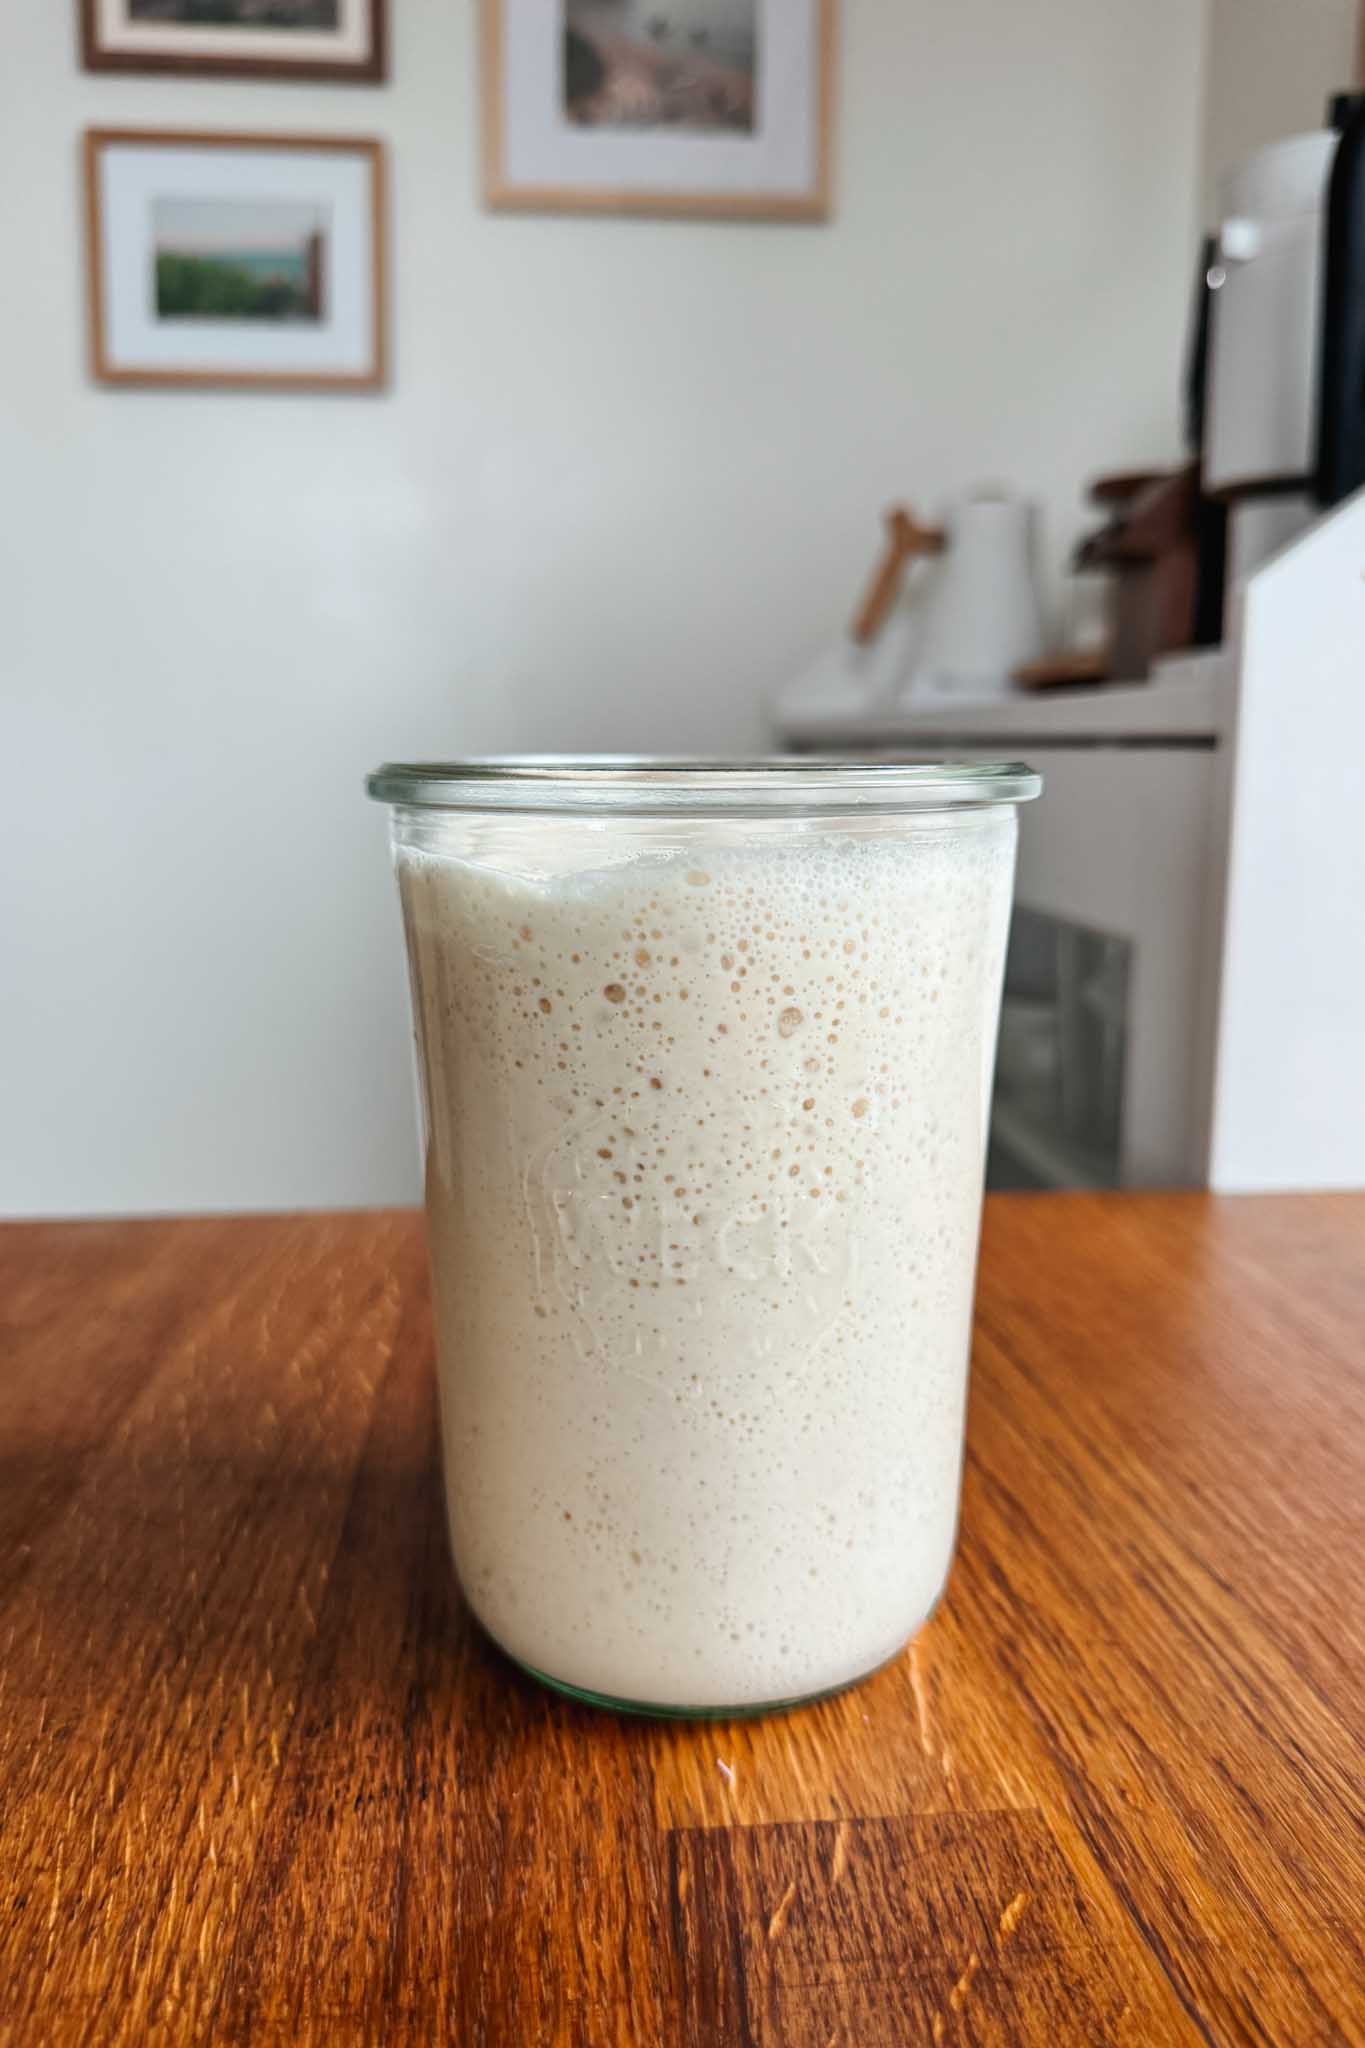
- Glass jar: Use a glass jar or any type of plastic container to store your sourdough starter. Again, do not use metal because it can react with your starter. I like using a tall vessel like a wide-mouth mason jar or a Weck jar because it’s easy to gauge how much your starter is rising after each feeding.
How To Make Sourdough Starter
Day 1: Mix The Starter
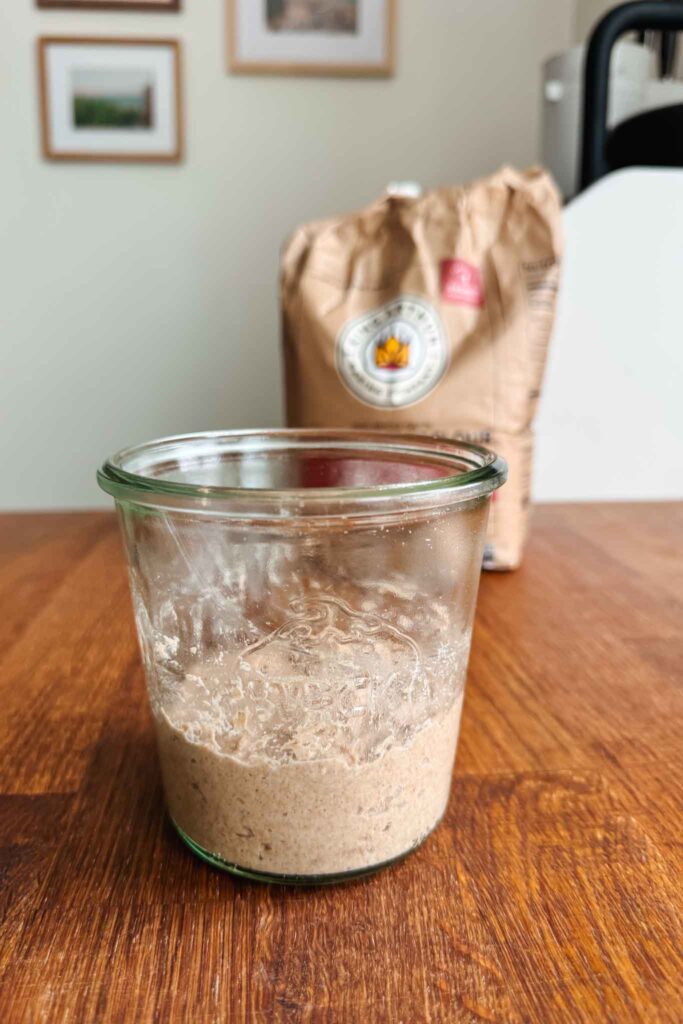
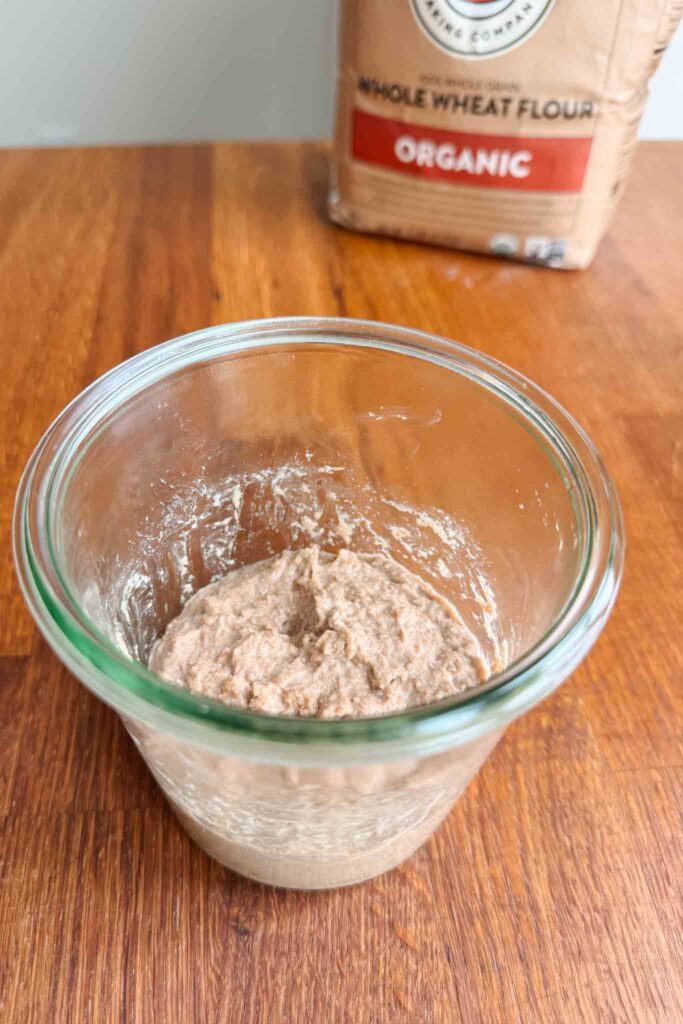
Step 1: To a clean jar or container, add 100g whole wheat flour (¾ cups) and 100g (⅓ cups) water. Mix together with a rubber spatula or wooden spoon until fully combined. It will form a thick, paste-like texture. Cover the jar with a lid or plastic wrap and let it sit somewhere warm (ideally around 75 degrees) for 24 hours.
- Tip: It’s important to keep your starter in a warm environment, approximately, 70 – 75 degrees Fahrenheit, to facilitate the fermentation process. If your home is cool (like mine!), you can place the jar inside an off oven with the oven light on for several hours, use a proof box, or a countertop oven with a proof setting. Even just a few hours in any of these warm environments will help jumpstart the process.
Day 2: Feed The Starter
Step 2: You may start to see bubbles forming on the surface at this point, but it’s ok if you don’t. After 24 hours have passed, use your rubber spatula or wooden spoon to discard half of the mixture in your jar (approximately 100g) – no need to be exact. There should be roughly 100g of mixutre remaining in the jar. To the jar, add 50g (⅓ cup) of whole wheat flour, 50g (⅓ cup) bread flour, and 100g (⅓ cup) water. Cover and place the jar in a warm place for another 24 hours.
Day 3: Continue Feeding
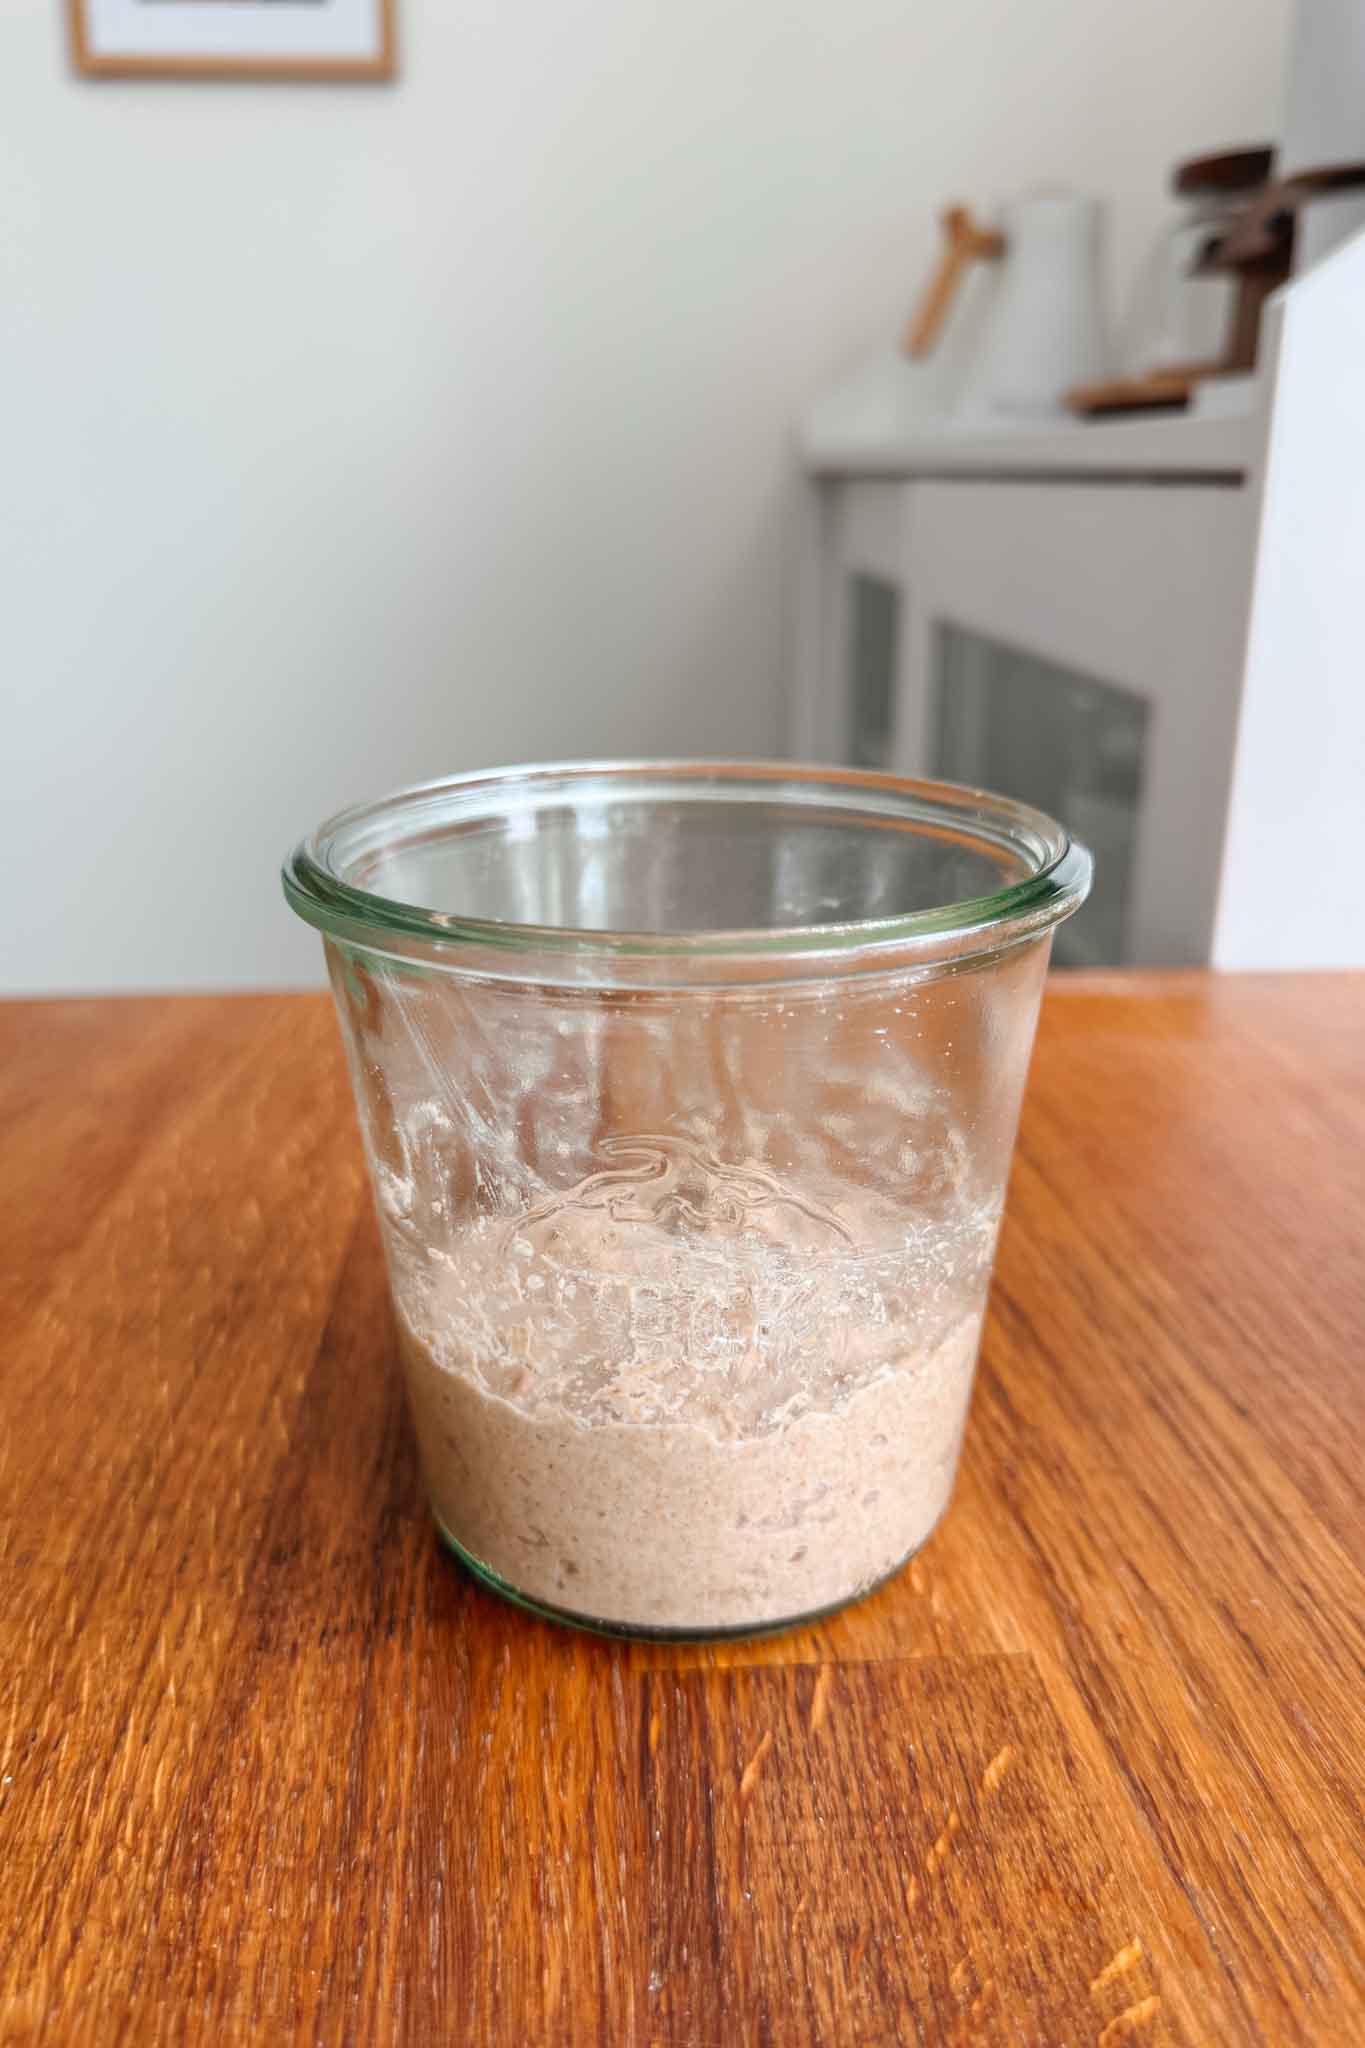
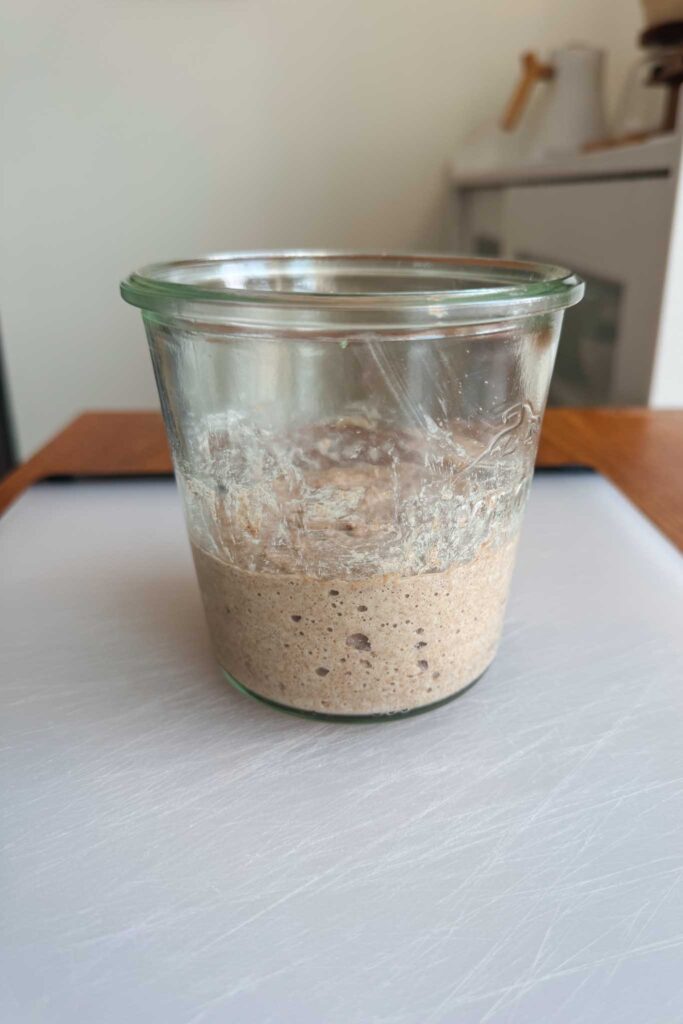
Step 3: Discard half of the starter from the jar, then add 50g (⅓ cup) of whole wheat flour, 50g (⅓ cup) bread flour, and 100g (⅓ cup) water and mix together. Cover the jar and place it in a warm spot for another 24 hours.
- Tip: Oftentimes, you’ll see a burst of activity (bubbles) in the first 24-72 hours and then it subsides. As you continue to feed your starter, the yeast and lactic acid bacterial communities will be in constant flux and activity levels may erupt and then dissipate abruptly. It’ll take at least 5-7 days for a stable community to take hold. Be patient and keep feeding!
Days 4 – 5: Daily Feedings
Step 4: Repeat the same process from Step 3 on both Day 4 and Day 5. Each time, make sure to discard half of the starter from the jar and feed it 50g (⅓ cup) of whole wheat flour, 50g (⅓ cup) bread flour, and 100g (⅓ cup) water.
Day 6: Feed Twice Daily
Step 5: On day 6, you’ll begin feeding your starter twice per day; once in the morning and once at night. In the morning, discard half of the starter from the jar and add the same quantities that you’ve been feeding: 50g (⅓ cup) of whole wheat flour, 50g (⅓ cup) bread flour, and 100g (⅓ cup) water. Mix everything together and let the jar sit somewhere warm for 12 hours. Once 12 hours have passed, repeat the feeding process.
Day 7: Starter Becomes Active
Step 6: Continue feeding your starter twice daily. At this point, you can transition to feeding your sourdough starter one type of flour if you’d prefer, like bread flour, all-purpose flour, or whole wheat flour.
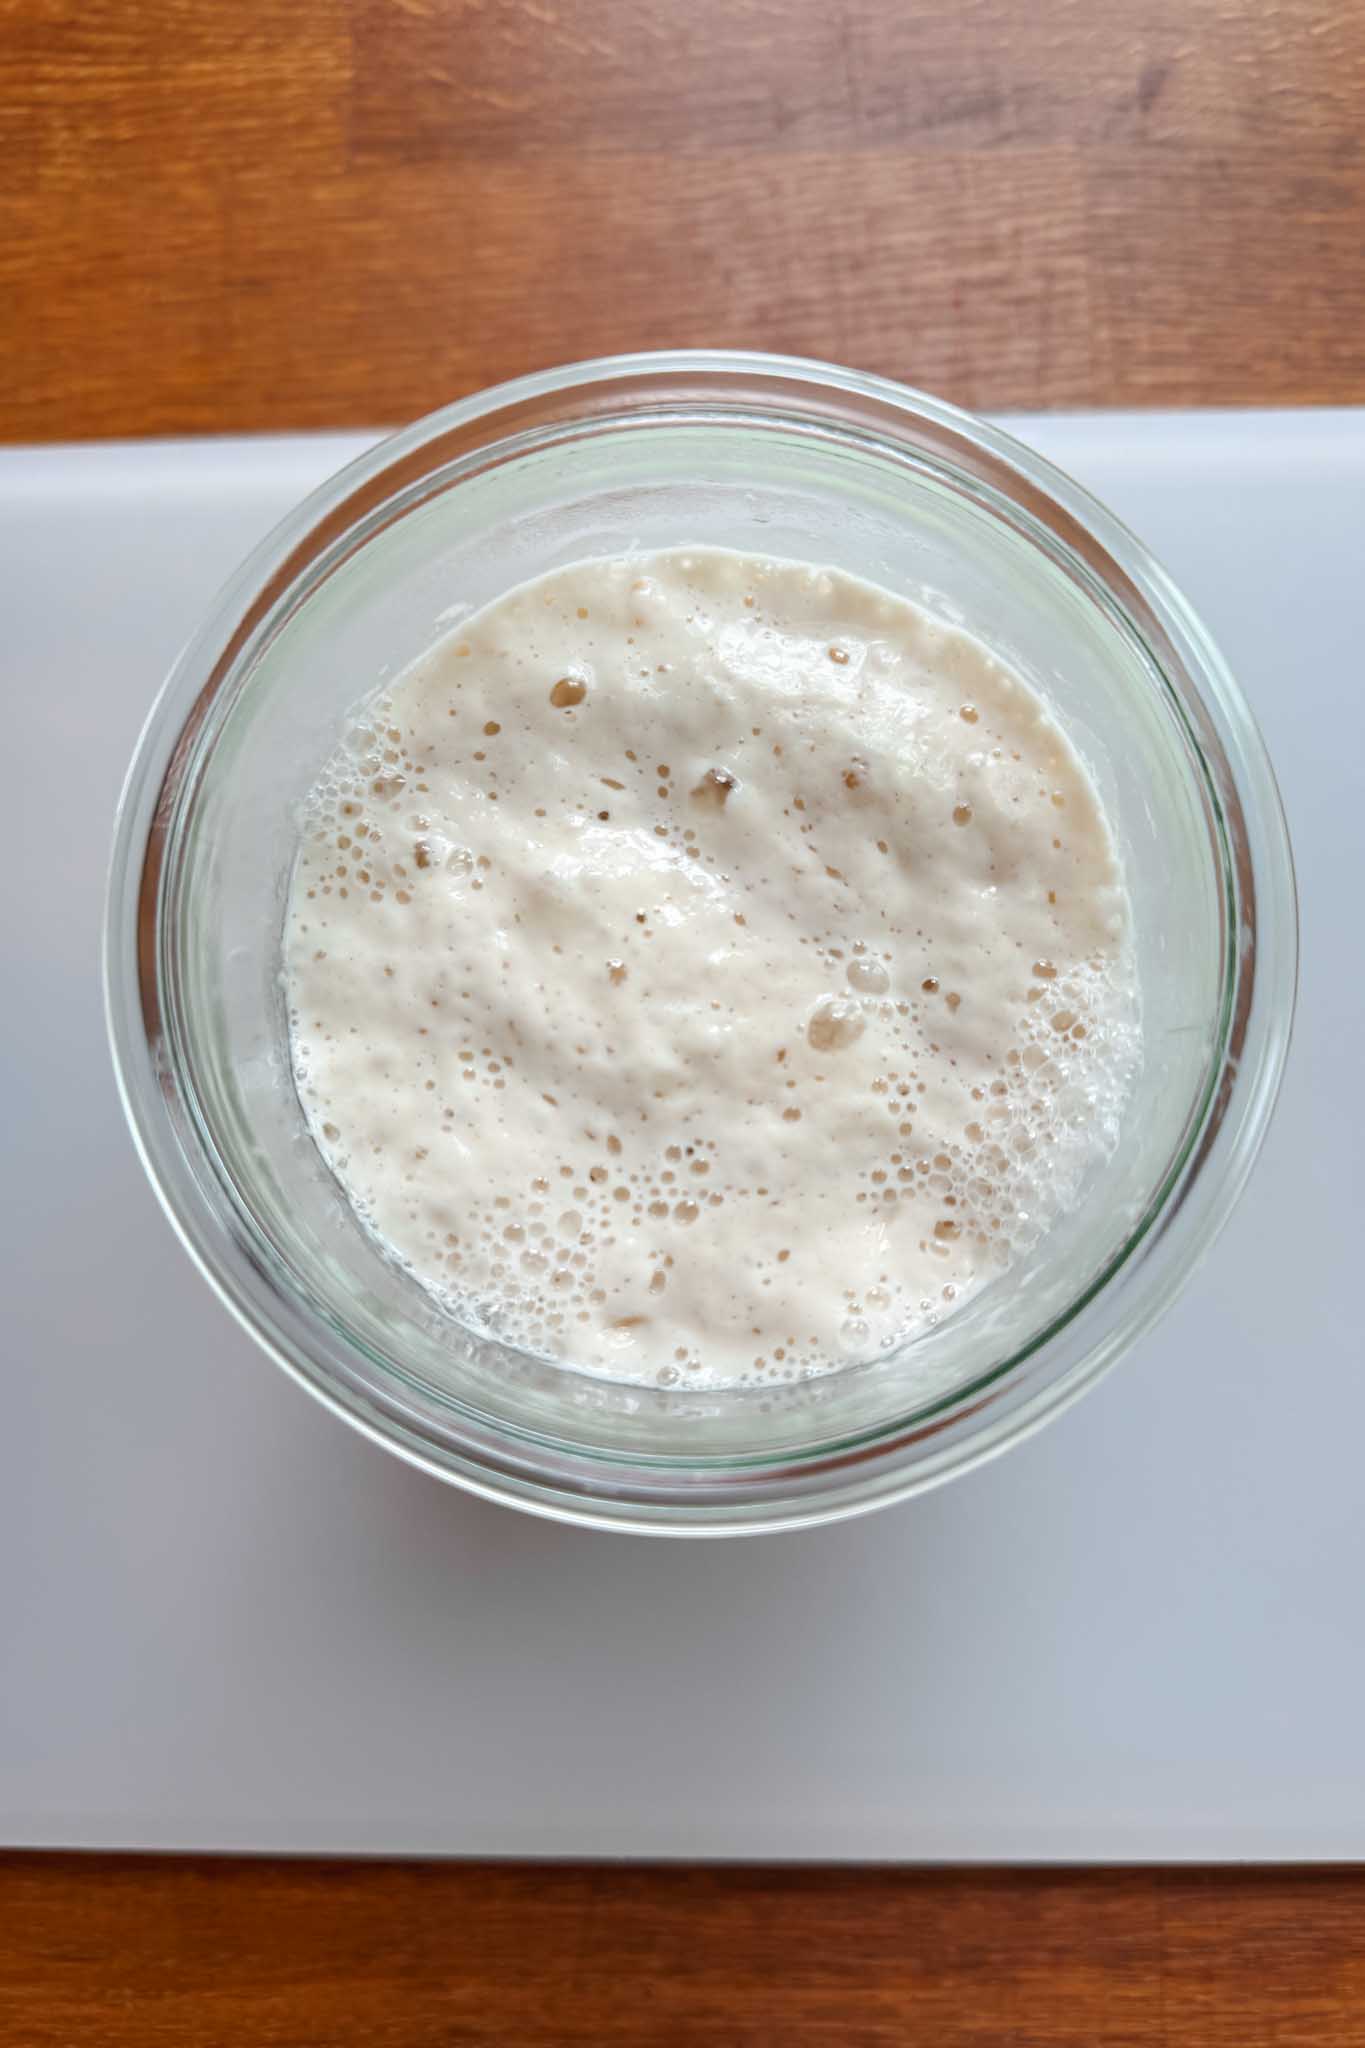
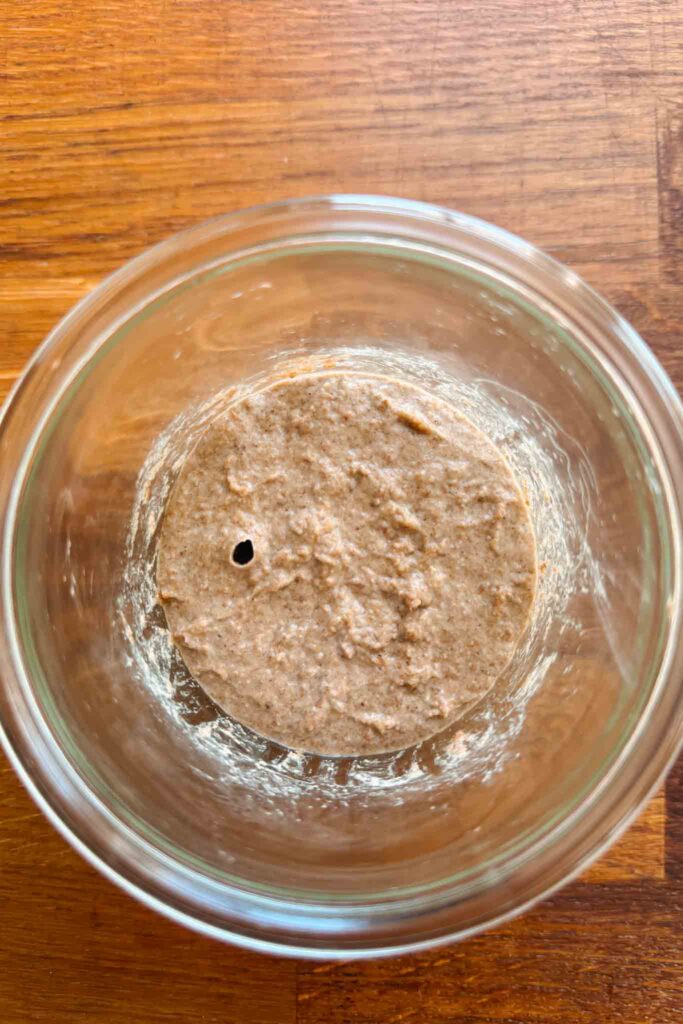
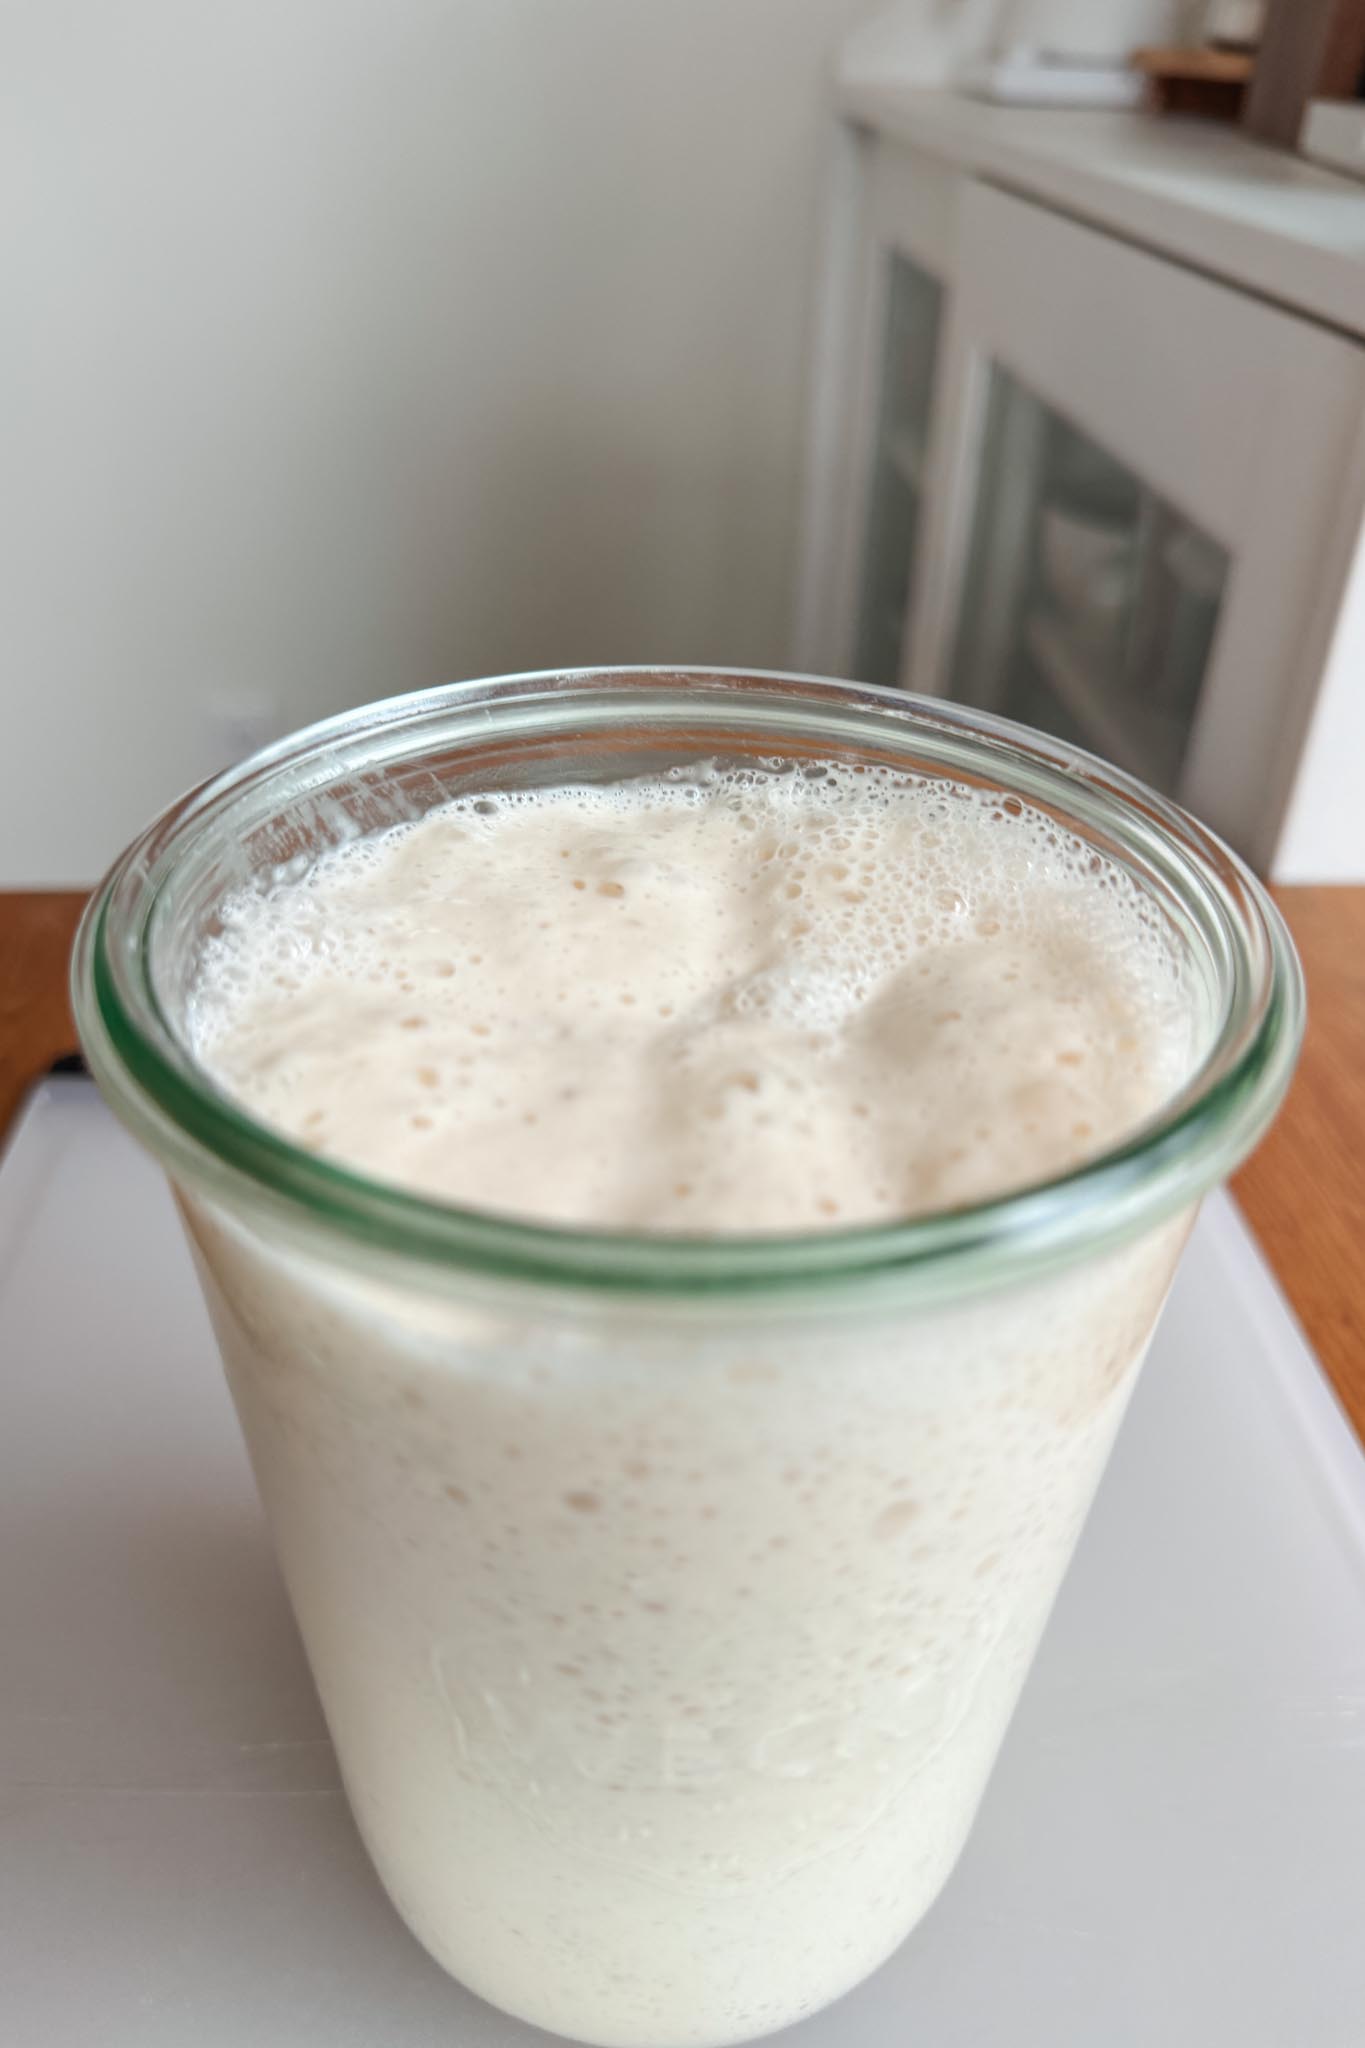
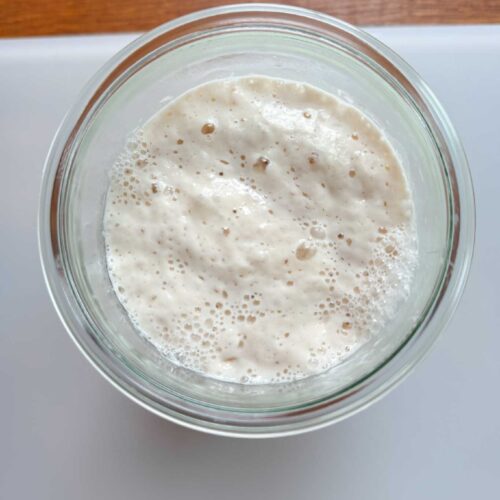
By Day 7 or Day 8, you should begin to see your sourdough starter predictably double in size after feeding. It will appear vigorously bubbly and have a light, airy texture. You’ll also notice a pleasant acidic smell that may be reminiscent of vinegar and red wine. If your starter matches this description, then it is active and ready to be used.
- Note: If your starter doesn’t match this description, do not worry! Continue feeding your starter every 12 hours until it is active and ready to use. This may take an additional 1 to 2 weeks, depending on many factors, like temperature, feeding times, flour, and more. Be patient, eventually you’ll get there.
Step 7: Congratulations, you made your very own active sourdough starter! Now it’s time to bake some bread and decide on your preferred sourdough starter maintenance routine.
How To Store and Maintain Sourdough Starter
Congratulations on creating your sourdough starter! Once you’ve given your starter a name (yes, naming it is encouraged), the next step is choosing a maintenance routine that fits your baking schedule. There are two main ways home bakers maintain a sourdough starter: storing it in the refrigerator or keeping it at room temperature on the counter.
Refrigerator Storage (Feed Once Per Week)
Storing your starter in the refrigerator slows fermentation, which means it only needs to be fed about once per week. This is the most common—and easiest—maintenance method for home bakers. When you want to bake, simply follow the revival steps outlined in the Notes section to bring your starter back to full activity. After baking, feed your starter and return it to the fridge. If you’re not baking regularly, keep it refrigerated and continue feeding it once a week. I typically feed my starter 100g of flour (80g bread flour and 20g whole wheat flour) and 100g of water at every feeding, unless more is needed for a particular recipe.
Countertop Storage (Feed Daily)
If you bake frequently, you may prefer to keep your starter on the counter at room temperature. Warmer temperatures keep the starter highly active, so it will need to be fed one to two times per day on an ongoing basis. This method requires more attention but keeps your starter ready to bake at a moment’s notice. If you ever need to a break because you’re traveling and just feel like taking a break, you can simply transfer your starter to the fridge and follow the steps in method 1. As with Method 1, I like to feed my starter 100g of flour (80g bread flour and 20g whole wheat flour) and 100g of water at every feeding.
When is Sourdough Starter Ready to Use?
You’ll know your sourdough starter is ready to use when it becomes super bubbly and doubles in size within 4–12 hours of feeding. One of the easiest ways to track its growth is by placing a rubber band or piece of tape around the jar right after feeding—then check back a few hours later to see how much it’s risen.
Easy Sourdough Recipes
Once your starter is active, I recommend starting with these beginner-friendly recipes. From baking sourdough bread to bagels and cookies, these are perfect for kicking off your sourdough journey.
- Beginner Sourdough Bread
- Easy Sourdough Bagels
- Blueberry Sourdough Bagels
- Chocolate Chip Sourdough Cookies

Frequently Asked Questions
Probably not. Sourdough starters are very resilient, and most issues—like inactivity, unpleasant smells, or lack of rise—are usually signs of hunger or temperature issues, not failure. Unless you see mold (fuzzy growth in green, black, pink, or orange), your starter can almost always be revived with consistent feedings
The float test isn’t always reliable, especially for starters fed with whole-grain flours, like rye, whole wheat, or spelt. A starter can be perfectly active and ready to bake even if it doesn’t float. Instead, look for signs like doubling in size, visible bubbles, a domed surface at peak rise, and a pleasant, acidic smell.
Lack of activity is usually caused by cold temperatures, infrequent feedings, or a weak flour choice. Starters thrive in warm environments and need regular feedings to stay active. With consistent care and time, bubbles and rise should return.
A healthy sourdough starter should smell mildly tangy, yeasty, like vinegar or red wine. As it matures, the aroma may become more complex but should never smell rotten or moldy. Strong, unpleasant odors usually improve after a few regular feedings.
Unbleached bread flour works best and creates a reliable, low-maintenance starter. Whole wheat or rye flour can boost activity early on, but they aren’t required. Consistency matters more than the type of flour you choose.
The grey liquid, often called “hooch,” is a sign that your starter is hungry. It’s a normal byproduct of fermentation and is safe to pour off or stir back in before feeding. Feeding your starter more frequently will help prevent it from forming.
How to Make Sourdough Starter (Beginner-Guide)
Equipment
- A glass jar (16oz – 32 oz) with lid. I recommend these wide mouth mason jars or these Weck jars.
- Rubber spatual or wooden spoon I love this whole set of silicon rubber spatulas.
- Kitchen scale Linking my favorite one from Amazon here.
Ingredients
- Bread flour I recommend starting with one 5lb bag. I like using King Arthur’s Bread Flour, but any unbleached bread flour will work well.
- Whole wheat flour (or another whole grain flour like rye, spelt, or and eiknorn).
- Water (I use tap water, but filtered water is great too!)
Instructions
Day 1
- Place a clean jar on your baking scale and tare it to zero. Add 100g (¾ cups) whole wheat flour and 100g (⅓ cups) water. Mix together with a rubber spatula or wooden spoon until combined and no dry patches remain. It will form a thick, paste-like texture. Cover the jar loosely with a lid or plastic wrap and let it sit somewhere warm (ideally around 75 degrees) for 24 hours.Tip: It’s important to keep your starter in a warm environment, approximately 70 – 75 degrees Fahrenheit, to help facilitate the fermentation process. If your home is cool (like mine!), you can place the jar inside an off oven with the oven light on for several hours, use a proof box, or a countertop oven with a proof setting. Even just a few hours in any of these warm environments will help jumpstart the fermentation process.Whole wheat flour, Water
Day 2
- You may start to see bubbles forming on the surface at this point, but it’s ok if you don’t! After 24 hours have passed, use your rubber spatula or wooden spoon to discard half of the starter in your jar (approximately 100g) – no need to be exact. There should be roughly 100g of starter remaining in the jar. To the same jar, add 50g (⅓ cup) of whole wheat flour, 50g (⅓ cup) bread flour, and 100g (⅓ cup) water. Mix everything together, loosely cover the jar, and place it in a warm place for another 24 hours.Bread flour, Whole wheat flour, Water
Day 3
- At this point you may notice more bubbles and overall activity in the jar. There may even be a strong, and possibly unpleasant smell — don't worry this is normal! Discard half of the starter from the jar. To the jar, add 50g (⅓ cup) of whole wheat flour, 50g (⅓ cup) bread flour, and 100g (⅓ cup) water and mix together. Cover the jar and place it in a warm spot for another 24 hours.Tip: If your jar is starting to get a little crusty or you just feel like working with a fresh jar, you can swap it out with a clean jar prior to feeding. To do this, place a clean mason jar on your baking scale and tare it to zero. Add 75g of your starter mixture to the clean jar. Next, add the 50g of bread flour, 50g whole wheat flour, and 100g of water. Mix together until combined. You can swap out with a clean jar every time you feed your starter, or do so periodically, its totally up to you!
Day 4 and 5
- Repeat the same process from Day 3 on Day 4 and Day 5. Each time, discard half of the starter from the jar and feed it 50g (⅓ cup) of whole wheat flour, 50g (⅓ cup) bread flour, and 100g (⅓ cup) water.Between days 3 – 5, you may notice that your starter's activity level slows down or even comes to a halt. Don't worry if this happens, it's totally normal! The microbes in your starter are in constant flux during these early days and it will take time for a stable community to take hold. Just be patient and keep going forward with the process.
Day 6
- On day 6 you’ll give your starter two feedings. In the morning, discard half of the starter from the jar and add the same quantities that you’ve been feeding: 50g (⅓ cup) of whole wheat flour, 50g (⅓ cup) bread flour, and 100g (⅓ cup) water. Mix everything together and let the jar sit somewhere warm for 12 hours. Once 12 hours have passed, repeat the feeding process.
Day 7
- Repeat the same process from Day 6 on Day 7, feeding your starter twice per day.
- By the end of day 7 and into Day 8, you should begin to see your sourdough starter double in size after feeding. It will appear vigorously bubbly and have a light, airy texture. You’ll also notice a pleasant acidic smell that may be reminiscent of vinegar and red wine. If your starter matches this description, then it is active and ready to be used! Transfer half of the starter to a clean jar, and feed the same ratio as before: add half of the starter from the jar and add the same quantities that you’ve been feeding: 50g (⅓ cup) of whole wheat flour, 50g (⅓ cup) bread flour, and 100g (⅓ cup) water.If your starter doesn’t match this description, do not worry! Continue feeding your starter every 12 hours until it is active and ready to use. This may take an additional 1 to 2 weeks, depending on many factors, like temperature, feeding times, flour, and more. Be patient, eventually the community of yeasts and bacteria in your starter will stabilize and it will start to match the description above!
You're Ready to Start Baking!
- Once your sourdough starter is active and ready to use, you can begin using it for all sorts of recipes! Check out my beginner sourdough bread, sourdough bagels, sourdough croissants, and so much more!
Sourdough Starter Storage and Maintenance
- Congratulations on creating your sourdough starter! With a little love and care, you can keep your starter going for years to come. Once you’ve named your starter (yes, she needs a name!), it’s time to decide on your preferred maintenance schedule. There are two main methods that home bakers use to maintain their sourdough starters.
Option 1: Store Your Starter in the Refrigerator
- Storing your starter in the refrigerator slows down the fermentation process, so you only need to feed your starter roughly once per week. This is the most common and easiest way to maintain your sourdough starter. All you have to do is feed your starter once a week, and follow the revival steps outlined in the Notes Section whenever you want to use it for baking. When you’re done baking, simply feed your starter and place it back in the fridge. When you’re not baking, store your starter in the fridge and feed 1x per week.
Option 2: Store on the Counter
- If you plan to bake more often, you can store your starter on the counter at room temperature. Because your starter is most active at warmer temperatures, you’ll need to feed it one to two times per day, indefinitely. If you're traveling or want to take a break, you can always switch over to method and transfer your starter to the fridge.
Notes
- How to Use Sourdough Starter from the Refrigerator
1–2 days before baking, remove your starter from the fridge. Transfer 50g of starter to a clean jar and feed it with 50g flour and 50g water. Once the starter has doubled in size and looks bubbly and active—typically within 8–24 hours—it can be used for baking. That said, I usually give it one additional feeding to ensure it’s at peak strength before using it in a recipe.


Loved this recipe, it was so easy to follow and get started! I’m already on day 2, will keep you posted 🙂
Thank you. Love u♡